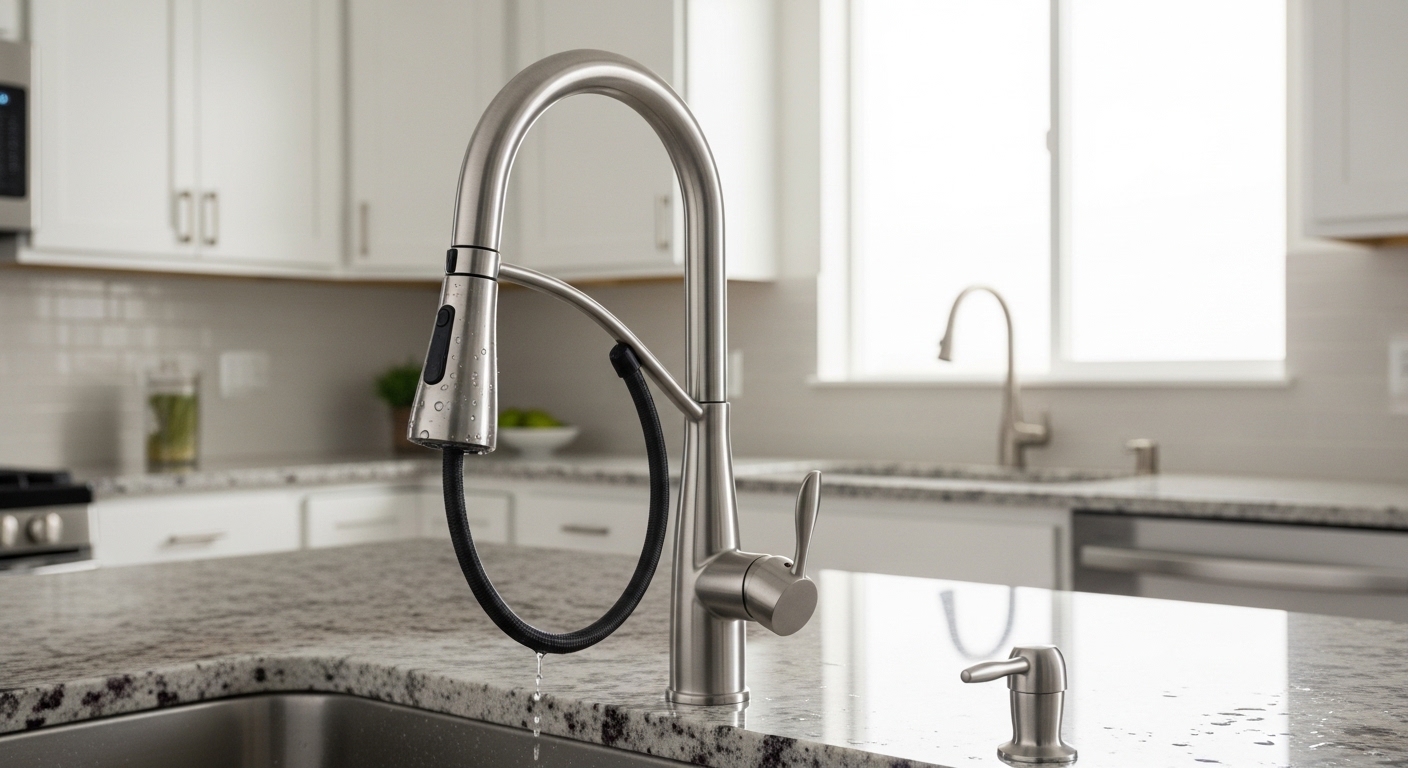
If you’ve been searching how to install kitchen faucet Glacier Bay models the right way, the good news is that these Home Depot faucets are designed to be homeowner-friendly — most use a quick-connect or single-nut mounting system that skips the fiddly hardware older faucets were famous for. In this guide, we’ll walk through the exact steps, the tools you actually need, the specs that matter (like the standard 1.75 GPM flow rate and the 1–3 hole deck configuration), and the small mistakes that cause 90% of post-install leaks. Whether you bought a single-handle pull-down or a two-handle model, the core process is the same.
Below you’ll find the full walkthrough, a tool checklist, a comparison of mounting styles, and answers to the real questions people ask before and after they start — including “why is my new faucet still leaking?” and “do I need a plumber?”
What tools and parts do you actually need to install a Glacier Bay kitchen faucet?
You need an adjustable wrench, a basin wrench, plumber’s tape (PTFE tape), a bucket, a flashlight, and a towel — plus the faucet box, which already includes the mounting hardware, gaskets, and usually the supply lines. That’s it for 95% of installs. You almost never need to buy extra parts if you’re replacing an existing faucet in the same hole configuration.
Here’s the practical checklist before you crawl under the sink:
- Adjustable wrench — for the supply line nuts.
- Basin wrench — the long-handled tool that reaches the cramped mounting nut behind the sink basin. This is the one tool people skip and then regret.
- Plumber’s tape (PTFE/Teflon) — wrap 3–4 turns clockwise on any threaded metal connection.
- Bucket and towel — the old supply lines will drip when you disconnect them.
- Flashlight or headlamp — under-sink cabinets are dark.
- Silicone plumber’s putty — only if your faucet base or deck plate doesn’t come with a pre-fitted rubber gasket (most new Glacier Bay models do).
Check the box for the model’s hole configuration. A single-handle Glacier Bay faucet typically needs one hole (plus an optional escutcheon/deck plate to cover a 3-hole sink). A widespread or two-handle model needs three holes at 4-inch or 8-inch spacing. If your new faucet doesn’t match your sink’s holes, the included deck plate solves it — no drilling required. If you’re unsure how the sink hardware clamps down, our guide on the kitchen faucet mounting bracket explains the different clamp styles you’ll run into.
How do you remove the old faucet before installing the Glacier Bay one?
Turn off both shutoff valves under the sink (turn clockwise until they stop), open the faucet to release pressure, then disconnect the two supply lines and the sprayer hose, and finally loosen the mounting nuts holding the old faucet to the deck. Once the nuts are off, the old faucet lifts straight out from the top.
Go step by step so you don’t flood the cabinet:
- Shut off the water. Find the hot and cold angle-stop valves under the sink and close both. Then open the old faucet handle — if water still runs, the valves aren’t fully closed or your home has no local shutoffs (in that case, close the main).
- Disconnect the supply lines. Place your bucket underneath. Use the adjustable wrench to loosen the nuts connecting the supply lines to the shutoff valves. Expect a little trapped water.
- Disconnect the sprayer hose (if separate) and any weight on a pull-down hose.
- Loosen the mounting nut. Reach up behind the basin with the basin wrench and back off the plastic or brass mounting nut. This is the tightest, most awkward part of the whole job.
- Lift the old faucet out and scrape off the old putty or gasket residue. Clean the deck with a rag and a little vinegar so the new gasket seats flat.
A clean, dry, flat deck is the single biggest predictor of a leak-free install. Grime and old silicone stop the new gasket from sealing, which is the same root cause behind a lot of kitchen faucet dripping complaints that people wrongly blame on the new faucet itself.
What are the exact steps to install a Glacier Bay kitchen faucet?
Drop the new faucet body down through the sink hole, secure it from underneath with the mounting nut or quick-lock bracket, connect the color-coded or pre-attached supply lines to the correct shutoff valves, attach the pull-down sprayer hose to its quick-connect fitting, add the counterweight, then turn the water back on slowly and inspect every joint. That’s the whole install.
Here’s the detailed sequence for a typical single-handle Glacier Bay pull-down:
- Feed the faucet through the deck. Route the pre-attached hoses and supply lines down through the center hole first, then set the faucet base onto its rubber gasket. Make sure the gasket sits flat and centered.
- Orient and hold it straight. Line up the spout so it points at the center of the basin, then hold it steady while you go underneath.
- Secure the mounting nut/bracket. From below, thread on the mounting nut (or slide the horseshoe bracket and tighten the screws) and snug it hand-tight, then give it a quarter-turn with the basin wrench. Don’t overtighten plastic nuts — you can crack them.
- Connect the supply lines. Wrap plumber’s tape on the valve threads, then hand-thread the hot line to the left (hot) valve and the cold line to the right. Snug with a wrench — firm, not gorilla-tight. Over-torquing is how you crush the rubber washer and create a slow drip.
- Attach the sprayer hose. Push the quick-connect fitting on the pull-down hose up into the faucet body until it clicks. Tug down to confirm it’s locked.
- Clip on the counterweight. Snap the plastic or metal weight onto the hose per the diagram — this is what retracts the sprayer head cleanly.
- Turn the water on slowly. Open both shutoff valves. Remove the aerator, then run hot and cold for 15–30 seconds to flush out debris before reinstalling the aerator (this protects the cartridge).
- Leak check. Wipe every connection dry, then run water and feel each joint with a dry paper towel. Any dampness means tighten a hair more or re-tape.
Flushing the line before reinstalling the aerator matters more than people think — construction debris and pipe scale are the top cause of a weak stream on a brand-new faucet. If your flow is disappointing later, the aerator is usually the culprit, and our walkthrough on how to clean a faucet aerator gets you back to full pressure in minutes.
What’s the difference between the mounting styles, and which is easier?
Glacier Bay faucets ship with one of two mounting systems: a traditional threaded mounting nut or a quick-lock bracket. The quick-lock bracket is noticeably faster and easier for a solo DIYer because you tighten a couple of side screws instead of wrestling a deep nut with a basin wrench. Both hold equally well once installed.
| Mounting Style | How It Secures | Ease for a Solo DIYer | Tools Needed | Best For |
|---|---|---|---|---|
| Threaded mounting nut | Large nut threads up the shank against the deck | Moderate — tight to reach | Basin wrench | Standard single-hole installs |
| Quick-lock / horseshoe bracket | Slide-on bracket with two thumb/hex screws | Easy — hand-tightened from below | Screwdriver or hex key | First-time DIYers, tight cabinets |
| Deck plate + single hole | Faucet nut plus escutcheon covering extra holes | Easy | Basin wrench | Converting a 3-hole sink to 1-handle |
Whichever style your model uses, the mounting hardware is in the box — you shouldn’t need to source anything separately. If you’re comparing Glacier Bay’s process to other brands, our general step-by-step kitchen faucet installation guide covers the universal principles that apply no matter who made your faucet.
Why is my new Glacier Bay faucet leaking after I installed it?
A new faucet almost always leaks for one of three reasons: the supply-line washer isn’t seated (or is over-tightened and crushed), the deck gasket didn’t sit flat, or the quick-connect sprayer hose didn’t fully click into place. Fix the specific joint that’s wet — don’t just crank everything tighter.
Diagnose by location:
- Dripping at the shutoff valve connection: the supply-line nut. Re-tape the threads and tighten firmly but not brutally. Rubber-washer supply lines need snug + a quarter turn, no more.
- Water pooling on the deck around the base: the gasket isn’t flat or the mounting nut is loose. Tighten the mounting nut and confirm the gasket is centered.
- Dripping from the faucet body under the sink: the pull-down hose quick-connect isn’t fully locked. Push it up until it clicks and tug to confirm.
- Drip from the spout itself: usually air or debris on day one — flush it. If it persists, the cartridge may be seated wrong.
If the handle feels wobbly rather than leaky, that’s a separate fix — a loose set screw or mounting nut, not a seal problem. We break that down in our guide on the loose handle on a faucet, which applies to most single-handle designs including Glacier Bay.
Do you need a plumber, or can you really DIY a Glacier Bay faucet install?
You almost certainly don’t need a plumber for a like-for-like replacement. If you’re swapping an old faucet for a new Glacier Bay in the same holes with working shutoff valves, this is a genuine 30–60 minute DIY job that saves the typical $150–$350 plumber call-out. You’d only want a pro if you’re adding new shutoff valves, cutting new holes in a solid surface countertop, or moving supply lines.
Call a plumber if any of these apply:
- You have no shutoff valves under the sink and would need to add them (that involves soldering or compression fittings on live lines).
- Your shutoff valves are corroded or won’t fully close — replacing angle stops is a bigger job.
- You’re drilling new holes in granite, quartz, or a fireclay sink, which needs the right bit and a steady hand.
- You hit galvanized or badly corroded supply piping that crumbles when you touch it.
For everyone else, the biggest “skill” required is patience under the sink and not over-tightening plastic parts. If you can turn a wrench and follow a diagram, you’ve got this.
How do you keep a Glacier Bay faucet working and looking good after install?
Wipe the finish dry after use, clean the aerator every few months, and avoid abrasive or acidic cleaners on the finish. Glacier Bay’s common finishes — chrome, stainless, and matte black — all last longest with just mild soap, water, and a soft cloth. Hard water is the main enemy of both looks and flow.
Two simple maintenance habits keep the faucet performing like new:
- Descale the aerator quarterly if you have hard water. Mineral buildup restricts flow and can lift the effective GPM down over time.
- Address spots early. Don’t let mineral deposits etch the finish. Our guide on cleaning hard water stains from a faucet covers the safe vinegar dilution and what to avoid on matte and stainless finishes.
Store the original box and the little bag of extra washers and the aerator key — you’ll want them for future maintenance and for any warranty claim.
FAQ
How long does it take to install a Glacier Bay kitchen faucet?
Most homeowners finish a like-for-like Glacier Bay install in 30 to 60 minutes. First-timers should budget an hour; the removal of the old faucet often takes longer than installing the new one, especially if the old mounting nut is corroded.
Do Glacier Bay faucets come with supply lines and hardware?
Yes. New Glacier Bay kitchen faucets typically include the supply lines (or pre-attached hoses), the mounting hardware, the deck gasket, and an escutcheon/deck plate where relevant. You generally only need to buy plumber’s tape separately, and possibly a basin wrench if you don’t own one.
What size are Glacier Bay faucet supply line connections?
Glacier Bay faucet supply connections are standard in the U.S. — the flexible lines typically terminate in a 3/8-inch compression fitting to match common under-sink angle-stop valves, with a 1/2-inch option on some kits. If your existing valves differ, an inexpensive adapter from the hardware store bridges the gap.
Do I need plumber’s putty or silicone under a Glacier Bay faucet?
Usually not. Most current Glacier Bay models include a molded rubber or foam gasket that seals the base to the deck, so no putty is required. Only fall back on plumber’s putty or clear silicone if your specific model has no base gasket or if your countertop surface is uneven.
Why does my Glacier Bay faucet have low water pressure after installation?
The most common cause is debris trapped in the aerator or the pull-down spray head after installation. Always flush the lines with the aerator removed before first use. If pressure is still low, unscrew and clean the aerator; if only the sprayer is weak, check for a kinked or improperly connected hose under the sink.
Can I install a single-handle Glacier Bay faucet on a 3-hole sink?
Yes. Single-handle Glacier Bay faucets include a deck plate (escutcheon) that covers the two unused holes, so a one-handle faucet installs cleanly on a standard 3-hole sink with no drilling. Just center the deck plate over the holes before you tighten the mounting nut.
Author note and brand credibility
This guide was written and reviewed by the Cobbe fixtures team, who design, bench-test, and install kitchen and bathroom faucets for a living. Every install step here reflects hands-on testing on real sink decks, not just spec sheets. Cobbe manufactures faucets built to U.S. standards — our valves and finishes are tested against ANSI/NSF and cUPC criteria for flow, durability, and lead-free safety, and our kitchen faucets are backed by a limited lifetime warranty on the finish and cartridge. When you follow the torque and flushing steps above, you’ll get the same leak-free, full-pressure result our own techs get on the bench. If you ever compare brands before buying, our head-to-head on Moen vs. Delta shows the same testing lens we apply to every fixture.