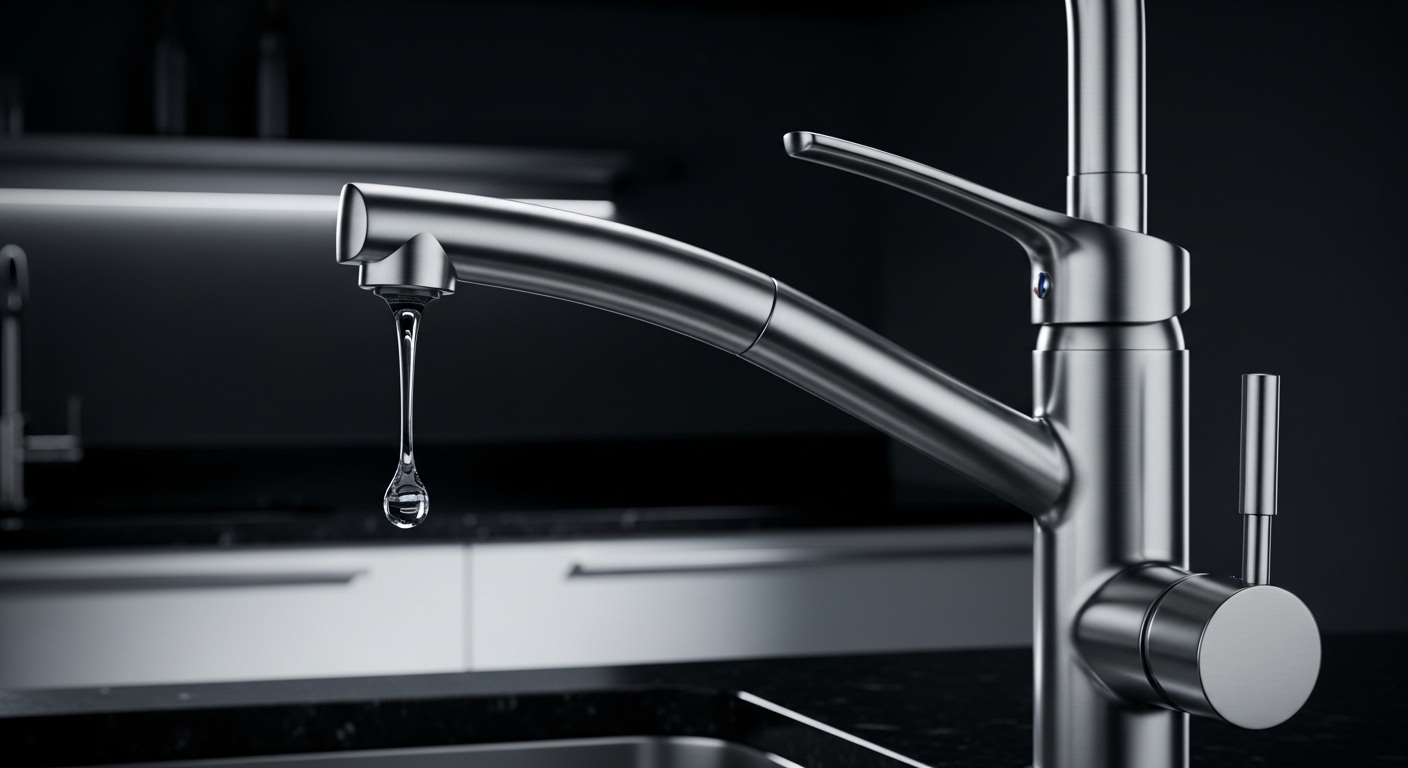
If your kitchen faucet dripping is keeping you up at night or slowly running up your water bill, here’s the reassuring news: in the vast majority of homes the cause is a cheap, replaceable part inside the faucet — typically a worn ceramic cartridge or a hardened rubber O-ring. A faucet that drips one drop per second wastes roughly 3,000 gallons a year, so this is worth fixing now rather than “someday.” Below, I’ll walk you through exactly what’s leaking, how to diagnose it in five minutes, when a DIY repair makes sense versus replacing the faucet, and how to make sure the drip never comes back.
What actually causes a kitchen faucet to drip?
A kitchen faucet drips because one of the internal parts that’s supposed to create a watertight seal has worn out, cracked, or collected mineral buildup. Water is always under pressure behind that seal, so the moment the seal fails even slightly, water pushes through and you get a steady drip — even with the handle fully off.
The exact culprit depends on the faucet type, but the usual suspects are short and predictable:
- Worn cartridge — In modern single-handle and most two-handle faucets, a cartridge controls water flow and temperature. The ceramic discs or internal seals wear down over years of use, and a drip results. This is the #1 cause.
- Cracked or flattened O-rings — These small rubber rings seal the spout and cartridge. Heat, hard water, and age make them brittle; a flat O-ring leaks.
- Worn rubber washer or seat — In older compression (two-handle, twist-to-stop) faucets, a rubber washer presses against a valve seat. Both wear out and cause dripping.
- Mineral / limescale buildup — Hard water deposits scratch and clog seals so they can’t close fully.
- Corroded valve seat — In older faucets, corrosion pits the brass seat the washer presses against, so it never seals again.
- Too-high water pressure — Pressure above ~80 psi can force water past seals that would otherwise hold.
The takeaway: a dripping faucet is rarely “broken.” It’s a consumable seal that has reached the end of its life — and seals are designed to be replaced.
How do I find out exactly where my faucet is dripping from?
Look at where the water appears, because that tells you which part failed. A drip from the spout tip means a bad cartridge or washer; a leak at the base of the spout means worn O-rings; a leak under the sink means a loose supply connection — not a seal at all.
Run this 5-minute diagnosis before you buy any parts:
- Drip from the spout when everything is off? The cartridge (or washer/seat in old faucets) is worn. This is your most common scenario.
- Water pooling around the base of the spout when you run it? The spout O-rings have failed. Cheap and easy to swap.
- Leak only on hot or only on cold (two-handle faucet)? You’ve isolated which side’s cartridge/washer to replace — you may only need to fix one.
- Wet cabinet floor under the sink? That’s a supply-line or hose connection, not the faucet itself. Tighten the connection or replace the supply hose.
- Drip that started right after cleaning? A loosened or knocked-out O-ring or a bit of debris in the seal — often fixable in minutes.
Which faucet type do I have — and does it change the fix?
Yes, the faucet type determines the part you replace. Knowing whether you have a cartridge, ball, ceramic-disc, or compression faucet saves you a wasted trip to the hardware store. Here’s how they compare.
| Faucet Type | How to Recognize It | Most Likely Drip Cause | Typical Fix & Cost |
|---|---|---|---|
| Cartridge (single or double handle) | Handle lifts up/down smoothly; no separate hot/cold “screw” feel | Worn cartridge or O-rings | Replace cartridge, $10–$25 |
| Ceramic disc | Single lever over a wide cylindrical body; very durable | Worn disc seals or sediment | Clean or replace disc cartridge, $15–$40 |
| Ball type | Single handle that moves in all directions over a dome | Worn springs, seats, or ball | Ball repair kit, $15–$25 |
| Compression (older two-handle) | Handles twist and tighten to shut off | Worn rubber washer or valve seat | New washer/seat, $5–$15 |
If you’re not sure which you have, snap a photo of the faucet and the handle base, then match it to the table above. Most kitchen faucets sold in the last 15 years — including Cobbe pull-down models — are cartridge or ceramic-disc designs, which are the easiest to repair. For a step-by-step on the actual swap, our guide on how to fix a dripping faucet at home walks through each faucet type with photos.
How do I stop a single-handle kitchen faucet from dripping (step by step)?
To stop a single-handle kitchen faucet dripping, shut off the water, pull the handle and cartridge out, replace the cartridge and O-rings with matching parts, and reassemble. Most people finish in 20–40 minutes with basic tools. Here’s the full sequence:
- Turn off the water. Close both shutoff valves under the sink (turn clockwise). Open the faucet to release pressure and confirm the water is off.
- Plug the drain. Drop in a stopper or a rag so you don’t lose tiny screws and clips.
- Remove the handle. Pop off the decorative cap, loosen the set screw with an Allen wrench, and lift the handle off.
- Pull the cartridge. Remove the retaining clip or nut, then pull the cartridge straight up with pliers. Note its orientation — take a photo.
- Inspect and match. Bring the old cartridge and O-rings to the store (or order the exact model number) so the replacement matches perfectly.
- Replace seals and cartridge. Coat new O-rings with plumber’s silicone grease, seat the new cartridge in the same orientation, and reinstall the clip.
- Reassemble and test. Put the handle back, turn the water on slowly, and check for drips at full and off positions.
One pro tip: while you have the faucet apart, unscrew and soak the aerator (the screen at the spout tip) in white vinegar for an hour. Mineral buildup there causes spitting and uneven flow that people often mistake for a leak. Our walkthrough on how to clean hard water stains from a faucet covers the vinegar soak in detail.
Should I repair my dripping faucet or just replace it?
Repair it if the faucet is under ~10 years old, the body and finish are in good shape, and a fresh cartridge stops the drip. Replace it if the faucet is corroded, you’ve already replaced the cartridge and it still drips, parts are discontinued, or the finish is worn and you wanted an upgrade anyway. Here’s the honest math.
| Situation | Best Move | Why |
|---|---|---|
| Faucet 1–8 years old, drips from spout | Repair (new cartridge) | $15 part fixes it; faucet has years left |
| Replaced cartridge, still drips | Replace faucet | Valve body or seat is worn/corroded |
| Parts discontinued / no model number | Replace faucet | Sourcing parts costs more than a new faucet |
| Visible corrosion, low flow, dated finish | Replace faucet | Repair is a band-aid; upgrade pays off |
| Multiple leaks (base + spout + handle) | Replace faucet | Whole seal system is past its life |
A new mid-range pull-down kitchen faucet runs about $90–$250, and modern models seal far better and resist hard-water wear thanks to upgraded ceramic-disc cartridges. If you do decide to replace, the job is more approachable than people expect — see our guide on how to install a kitchen faucet step by step before you start. And if you’re weighing brands and build quality while you shop, our Moen vs Delta comparison is a useful primer on what separates a faucet that lasts from one that drips again in two years.
How do I keep my kitchen faucet from dripping again?
Prevent future drips by controlling the three things that kill seals: hard water, excessive pressure, and over-tightening. Do these and a quality cartridge will last 8–15 years.
- Tame hard water. Mineral deposits are the #1 enemy of faucet seals. Wipe the spout dry, clean the aerator a few times a year, and consider a water softener if you have very hard water (above ~7 grains per gallon).
- Check your water pressure. Above 80 psi stresses every seal in the house. A $10 gauge on a hose bib tells you in seconds; a pressure-reducing valve fixes chronic high pressure.
- Don’t crank the handle. Modern cartridges seal with light pressure. Forcing the handle “extra tight” off actually grinds the seals faster.
- Use silicone grease on seals. Whenever you service the faucet, regrease the O-rings — dry rubber cracks.
- Buy quality from the start. Cheap faucets use thin plastic cartridges; ceramic-disc cartridges from reputable brands resist wear dramatically better.
Why does my brand-new kitchen faucet already drip?
A brand-new faucet that drips is almost always an installation issue, not a defect — usually debris caught in the cartridge during install, a cartridge that isn’t fully seated, or supply lines flushed with sediment. Before you return it, shut off the water, remove and reseat the cartridge, and flush the lines by running water with the cartridge out (carefully). Nine times out of ten, a tiny piece of pipe debris was holding a seal open. If it still drips after reseating and flushing, then it’s a warranty matter — which is exactly what manufacturer warranties exist for.
Author note & why you can trust this guide
This guide was written by the Cobbe product and testing team, drawing on hands-on bench testing of kitchen and bathroom faucets and years of customer repair feedback. Cobbe designs and manufactures kitchen and bathroom faucets, shower systems, and fixtures, and our cartridges are cycle-tested to industry durability standards (faucets are commonly validated to 500,000+ open/close cycles under standards like ASME A112.18.1/NSF 61). Every Cobbe kitchen faucet is backed by a manufacturer warranty covering drips and finish defects, because a faucet that fails at the seal is a faucet that didn’t do its one job. We only recommend repairs and replacements we’d make in our own kitchens.
FAQ
Is a dripping kitchen faucet an emergency?
No, a slow drip isn’t an emergency, but it isn’t harmless either. A single drip per second wastes about 3,000 gallons a year, stains your sink, and the constant moisture accelerates mineral buildup that makes the leak worse. Fix it within a week or two — sooner if the drip is fast or the cabinet below is getting wet.
How much does it cost to fix a dripping kitchen faucet?
A DIY repair typically costs $5–$40 for the cartridge, O-rings, or washer kit, plus about 30 minutes of your time. Hiring a plumber runs roughly $100–$250 depending on your area and the part. Replacing the whole faucet ranges from about $90 to $250 for the unit if you install it yourself.
Can hard water cause my kitchen faucet to drip?
Yes. Hard water leaves mineral deposits that scratch and clog the cartridge and O-rings so they can’t seal fully, which is one of the most common causes of premature dripping. Regular aerator cleaning, drying the spout, and — in hard-water areas — a water softener all extend seal life significantly.
Why does my faucet drip only after I turn it off?
A brief dribble for a second or two after shutoff is normal — it’s just water draining from the spout. But a continuous drip that keeps going after shutoff means the cartridge or washer isn’t sealing and needs to be replaced. The test: if it’s still dripping a full minute after you turn the handle off, it’s a worn seal.
Do I need to turn off the main water supply to fix a dripping faucet?
Usually no — just close the two shutoff valves under the sink (turn them clockwise) and open the faucet to relieve pressure. Only if those under-sink valves are stuck, missing, or leaking do you need to shut off the home’s main water supply instead.
How long should a kitchen faucet last before it starts dripping?
A quality kitchen faucet with a ceramic-disc cartridge should run 8–15 years before any drip, and even then it’s usually just a $15 cartridge to refresh it. Cheaper faucets with plastic cartridges may start dripping in 2–5 years, which is why the cartridge quality matters far more than the price of the shiny exterior.