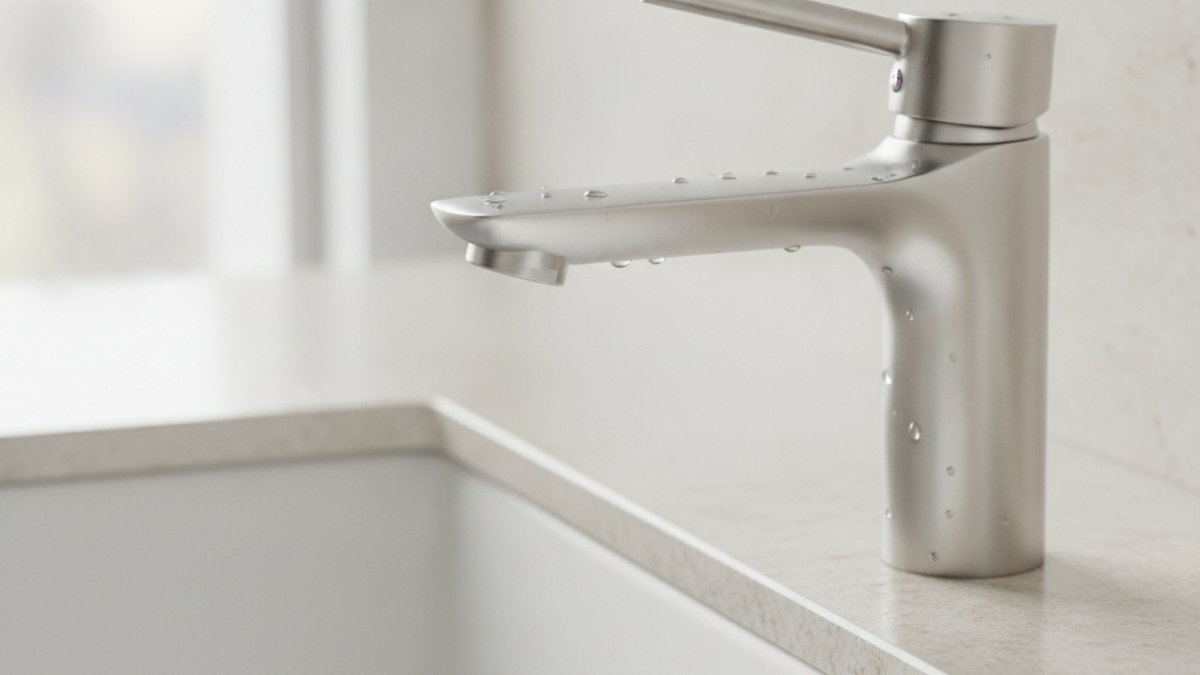
If your Grohe bathroom faucet handle loose problem has you wiggling the lever every morning and wondering whether the whole faucet is failing, relax — it almost never is. Grohe builds solid German fixtures, and a handle that spins, rocks, or lifts off is the single most common complaint, yet it’s also the easiest to repair. In nearly every case, one small screw has vibrated loose over months of daily use. Below, I’ll walk you through exactly where that screw hides, how to reach it, and what to do when tightening the obvious screw doesn’t hold — because sometimes the real culprit is one layer deeper.
Why is my Grohe bathroom faucet handle loose in the first place?
Your Grohe handle is loose because the small set screw (Grohe calls it a “grub screw”) that clamps the lever onto the cartridge stem has backed out from repeated turning and thermal expansion. Hot and cold water make the metal expand and contract thousands of times a year, and that micro-movement slowly walks the screw loose.
That’s the headline cause, but there are really four things that make a Grohe bathroom faucet handle feel loose, and they stack from easiest to fix to most involved:
- Backed-out set screw (80% of cases). The tiny hex screw under the decorative cap or on the underside of the lever has loosened. The handle rocks or spins but doesn’t come off.
- Worn or stripped set screw seat. The screw tightens but the handle still shifts because the flat on the cartridge stem or the screw threads are worn.
- Loose cartridge retaining nut. The whole cartridge assembly moves inside the body, so tightening the handle screw never fully solves it — the play is below the handle.
- Failing ceramic cartridge. After 8–15 years the cartridge itself develops internal slop, and the handle feels loose and the water control gets vague or drippy.
Knowing which of these you have saves you from over-tightening a screw that was never the problem. The quick test: if the handle rocks side to side but the screw is already snug, the play is in the cartridge, not the handle.
Where is the hidden set screw on a Grohe single-lever bathroom faucet?
On most Grohe single-lever bathroom faucets, the set screw sits directly under the lever, hidden either behind a small red/blue temperature indicator cap on the front of the handle or on the underside of the lever facing the wall. You almost never need to remove the whole faucet to reach it.
Here’s how to find it on the three common Grohe handle styles:
- Lever handles (Eurosmart, Eurostyle, BauEdge): Look for a small round cap — often a red/blue dot — on the front or underside of the lever. Pop it off with a fingernail or a tiny flat screwdriver to reveal a 2.5mm hex set screw.
- Cross or “joystick” handles: The screw is usually on the underside collar of the handle, angled slightly. You’ll need to tilt your head and a mirror to spot it.
- Concealed cartridge levers (Grohtherm-style): The indicator cap clips off and the screw sits recessed inside the hub.
The key spec to remember: Grohe overwhelmingly uses 2.5mm hex (Allen) set screws on bathroom lever handles, with some older or larger models using 3mm. A cheap metric hex-key set is all you need. Do not force an SAE/imperial key that “almost fits” — you’ll round out the tiny socket and turn a five-minute job into a drilling job.
How do I tighten a loose Grohe bathroom faucet handle step by step?
To tighten a loose Grohe bathroom faucet handle: pop off the index cap, insert a 2.5mm hex key into the set screw, and turn it clockwise until the handle is firm — no water shutoff or tools beyond a hex key required. Here’s the full sequence so you get it right the first time.
- Turn the handle to the OFF position. You don’t have to shut off the water supply for a simple set-screw tightening, but leaving it off keeps things dry if the handle lifts free.
- Remove the index cap. Gently pry the red/blue (or plain chrome) cap off the front or bottom of the lever with a fingernail or plastic trim tool. Set it somewhere it won’t roll down the drain — seriously, close the drain first.
- Locate the set screw. Inside the cap recess (or on the handle collar) you’ll see the small hex socket.
- Tighten clockwise. Seat your 2.5mm hex key fully, then turn clockwise. It should snug up within a half-turn to a full turn. Firm is enough — you’re clamping the lever onto a stem, not bolting down an engine.
- Test the handle. Wiggle it. No rock, no spin, smooth on/off and hot/cold swing? Done. Push the index cap back until it clicks.
If the handle is now solid, congratulations — that was 90% of the fix and you just saved a service call. If it tightens but the handle still has play, or the screw spins without ever biting, keep reading, because the problem lives below the handle. The same logic applies across brands, and if you want a broader walkthrough of the underlying mechanics, our guide on when your faucet handle feels loose and what’s really wrong breaks down every failure point.
What if tightening the screw doesn’t fix it — is it the cartridge?
If the set screw is tight but the Grohe handle still rocks, the problem is the cartridge retaining nut or the cartridge itself, not the handle — and that’s a slightly bigger but still DIY-friendly repair. This is where people give up and call a plumber unnecessarily.
Work through it in this order:
- Shut off the water. Now you do need to close the two supply valves under the sink (or the main if there are none). Open the faucet to relieve pressure.
- Remove the handle fully. Back the set screw out and lift the lever off the cartridge stem.
- Check the cap/dome and retaining nut. Under the handle you’ll find a chrome cap or dome nut, then a brass cartridge retaining nut. If the whole cartridge wobbles, that retaining nut has loosened. Snug it with a wrench or Grohe’s plastic cartridge tool (turn clockwise, moderate force).
- Inspect the cartridge stem flat. The stem has a flat side the set screw presses against. If that flat is rounded or chewed, the handle will never clamp tight — the cartridge needs replacing.
Grohe cartridges are model-specific (35mm and 46mm ceramic cartridges are the common bathroom sizes). Find your faucet’s product number — it’s usually stamped near the base or on the original box — and match the exact cartridge. Getting the size right matters as much for faucets as it does in the kitchen; our explainer on what valve size you need to replace a cartridge shows how to measure so you order the correct part instead of guessing.
Loose bathroom handle vs. loose shower handle — is the Grohe fix the same?
Mostly yes, but a Grohe shower handle usually hides its set screw deeper and often involves a thermostatic cartridge, so the disassembly is a step more involved. The core diagnosis — set screw first, cartridge second — is identical.
The practical differences come down to access and cartridge type:
| Factor | Grohe Bathroom (Basin) Faucet | Grohe Shower Faucet |
|---|---|---|
| Set screw size | 2.5mm hex (some 3mm) | 2.5mm or 3mm hex, recessed deeper |
| Access | Pop index cap, screw right there | Remove handle, then escutcheon/trim plate |
| Cartridge type | Standard 35/46mm ceramic mixer | Often thermostatic or pressure-balance |
| Water shutoff needed? | Only for cartridge work | Recommended even for handle work |
| Typical fix time | 10–20 minutes | 20–40 minutes |
If it’s actually your shower valve giving you trouble, we wrote a dedicated companion piece — why your Grohe shower faucet handle is loose and how to tighten it — that covers the thermostatic-cartridge quirks this article doesn’t. And if you’re weighing whether Grohe is even the brand to stick with when you eventually replace the whole fixture, our head-to-head on Kohler vs. Grohe and which is actually worth your money lays out the durability trade-offs.
How do I stop my Grohe faucet handle from coming loose again?
To keep a Grohe handle from loosening again, add a small dab of removable (blue) threadlocker to the set screw and confirm the cartridge retaining nut is properly torqued — that stops the vibration-driven backout that caused it the first time.
A few habits and small parts make the fix permanent:
- Blue Loctite 242, not red. Blue holds against vibration but still lets you remove the screw later. Red is permanent and you’ll regret it.
- Don’t over-torque. Cranking a 2.5mm screw as hard as you can strips the tiny hex socket. Snug plus a threadlocker beats brute force.
- Replace a worn set screw. If the screw tip is deformed, a fresh Grohe grub screw (they’re pennies) grips the stem flat far better.
- Check it seasonally. A 20-second wiggle test every few months catches a loosening screw before the handle chews up the stem flat.
These are the same principles that keep any lever handle tight — if you’re dealing with a handle that has no visible screws at all, the mechanism differs and our guide on fixing a sink faucet handle that’s loose with no screws covers the push-fit and snap-cap designs.
When is a loose Grohe handle actually a sign to replace the faucet?
Replace the faucet rather than repair it when the cartridge stem is stripped and the faucet is out of warranty and 12+ years old, or when you’re also seeing chronic drips, corroded threads, and finish failure. A loose handle alone almost never justifies replacement — but it can be the nudge that reveals a faucet at the end of its life.
Do the math honestly. A Grohe cartridge runs roughly $25–$60 and 30 minutes of your time. A new quality single-lever bathroom faucet starts around $80–$150. If you’re replacing the cartridge for the second time and the finish is pitting, you’re pouring money into a fixture that’s telling you it’s done. Grohe’s lifetime residential warranty covers many drip/leak defects on the original purchaser, so check that before you buy parts — you may get a free cartridge.
What you’ll need for the repair (quick checklist)
- 2.5mm and 3mm hex (Allen) keys
- Plastic trim/pry tool (to remove the index cap without scratching)
- Adjustable wrench or Grohe cartridge tool
- Blue threadlocker (Loctite 242 or equivalent)
- Replacement cartridge and/or set screw matched to your Grohe model number
- A rag and a closed drain — always close the drain first
FAQ
What size Allen key do I need for a Grohe bathroom faucet handle?
A 2.5mm hex (Allen) key fits the set screw on most Grohe single-lever bathroom faucets, with some larger or older models using 3mm. Always use a metric key — an imperial key that “almost” fits will round out the small socket. Keep both sizes handy since a millimeter difference is easy to misjudge.
Can I fix a loose Grohe handle without turning off the water?
Yes, for a simple set-screw tightening you can leave the water on — just turn the handle to off first. You only need to shut off the supply valves if you’re removing the cartridge or its retaining nut, where water would otherwise spray out once the assembly comes apart.
Why does my Grohe handle keep coming loose no matter how tight I make it?
If it keeps loosening, the problem is either vibration backing the screw out (fixed with blue threadlocker) or a worn flat on the cartridge stem that the screw can’t grip. Add threadlocker first; if the handle still shifts, inspect the stem flat and replace the cartridge if it’s rounded off.
How much does it cost to fix a loose Grohe bathroom faucet handle?
If it’s just the set screw, it costs nothing but a few minutes and a hex key you likely already own. If the cartridge needs replacing, budget roughly $25–$60 for a genuine Grohe cartridge. A plumber would charge $100–$200 for the same job, which is why this is such a satisfying DIY.
Is a loose faucet handle covered under Grohe’s warranty?
Grohe offers a limited lifetime residential warranty that typically covers manufacturing defects in cartridges and finishes for the original owner, though a set screw loosening from normal use is considered maintenance, not a defect. Register your product and keep the receipt — if the cartridge itself is faulty, you may get a free replacement part.
Will a Grohe cartridge from a different model fit my faucet?
Not reliably — Grohe cartridges are sized to specific families (35mm and 46mm ceramic units are the common bathroom sizes), and the wrong one won’t seat or seal. Always match the exact Grohe product number stamped on the faucet or listed on the original packaging before ordering.
Author note: This guide was written by the Cobbe fixtures team, drawing on hands-on repair testing across Grohe, Kohler, and Moen single-lever faucets in our own workshop. At Cobbe (cobbe.net), we design and stress-test bathroom and kitchen faucets to industry standards for durability and finish, and we build our repair guides from the same teardown notes our engineers use — so the steps here reflect how these handles actually come apart, not guesswork. When in doubt about a specific model, cross-check the Grohe product number and your warranty documentation before ordering parts.