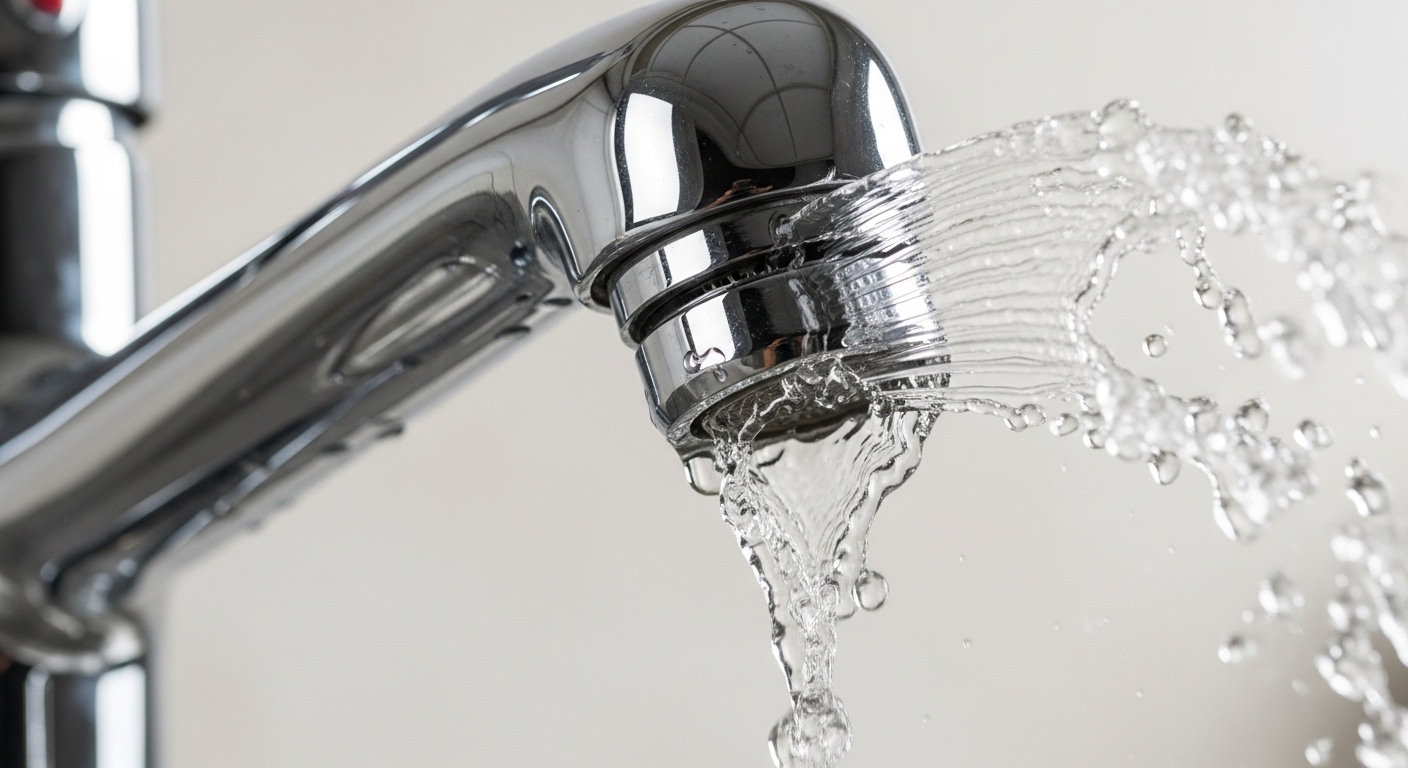
If your faucet suddenly sprays sideways, trickles weakly, or hisses, learning how to clean a faucet aerator is almost always the fix — and it’s the single cheapest plumbing repair you’ll ever do. The aerator is the little screw-on tip at the end of your spout, and over months it fills with hard-water minerals, rust flakes, and grit until water can barely squeeze through. Below, our team at Cobbe walks you through exactly how to remove it, clean it, and put it back so the flow comes back strong.
What exactly is a faucet aerator, and why does it clog?
A faucet aerator is the small threaded fitting at the very tip of your spout that mixes air into the water stream. It’s made of an outer housing, a fine metal or plastic mesh screen, and a couple of rubber washers. It clogs because that fine screen is a trap: every bit of sediment, sand, rust, and dissolved calcium and magnesium in your water gets caught there instead of splashing into your sink.
The aerator does three useful things — it stops splashing, it saves water (a good aerator cuts a 2.2 GPM faucet down to 1.5 GPM or less), and it gives you that soft, bubbly stream instead of a hard jet. But because it’s the finest filter in your whole faucet, it’s also the first thing to choke up. In hard-water regions — think much of the Southwest, Texas, and the Midwest — you may need to clean it every 3 to 6 months. In soft-water homes, once a year is plenty.
How do you know it’s the aerator and not a bigger plumbing problem?
Here’s the quick test: unscrew the aerator and turn the faucet on. If the water suddenly gushes out strong and full, the aerator was your problem — clean it and you’re done. If the flow is still weak with the aerator removed, the clog is deeper (a bad cartridge, a kinked supply line, or a failing shutoff valve) and cleaning the aerator won’t help.
Signs that point straight to a dirty aerator:
- Water pressure dropped gradually over weeks, not all at once.
- The stream sprays crooked, splits into two, or fans out sideways.
- You see white crusty buildup around the tip of the spout.
- Only one faucet is affected — a house-wide pressure drop is a different issue.
- The faucet sputters or spits air along with the water.
If low pressure showed up alongside a persistent drip, you may actually have two separate issues. A leaking faucet is worth reading up on separately — our guide on why your kitchen faucet is dripping and how to stop it fast covers the cartridge and washer wear that a simple aerator cleaning won’t touch.
How do you remove a faucet aerator without scratching it?
Most aerators unscrew by hand — turn clockwise as you look up at it from below (that’s counterclockwise from the faucet’s point of view). Grip the aerator, twist, and it should back right off. If it’s frozen with mineral buildup, wrap the housing in a strip of masking tape or a rubber band for grip, or use pliers or a wrench with the jaws padded by a cloth so you don’t chew up the finish.
A few things worth knowing before you twist:
- Cover the drain first. Drop a rag or a drain stopper in the sink so a tiny washer doesn’t disappear down the pipe.
- Note the order of the parts. As they come out, lay the screen, washers, and housing on the counter in the exact sequence and orientation you removed them. Snap a phone photo — reassembling backward is the #1 mistake.
- Two styles exist. A standard aerator has visible threads on the outside and unscrews with your fingers or padded pliers. A cache (hidden/recessed) aerator sits inside the spout tip and needs a small key tool that often ships with the faucet.
If your faucet uses the recessed type, that little plastic tool is exactly what you need — and it’s the same family of gadget we describe in what a kitchen faucet key is and whether you actually need one.
What’s the best thing to soak a faucet aerator in — vinegar or CLR?
White vinegar is the best everyday choice: it’s cheap, non-toxic, safe on chrome and stainless, and its mild acetic acid dissolves calcium and lime without harming rubber washers. For a normal aerator, a 30-minute soak in plain white vinegar does the job. For brutal, chalk-thick buildup, you can leave it overnight.
Commercial descalers like CLR or Lime-A-Way work faster and harder, but they’re aggressive — never leave brass, nickel, or coated finishes in them longer than a couple of minutes, and always follow the label. Here’s how the common options stack up:
| Cleaner | Soak time | Best for | Watch out for |
|---|---|---|---|
| White vinegar | 30 min – overnight | Routine mineral/lime scale | Slow on very heavy buildup |
| Vinegar + baking soda | 15–30 min | Light scale + a fizzing scrub boost | Mostly mechanical; not much stronger |
| CLR / Lime-A-Way | 2–5 min only | Severe, rock-hard calcium | Can dull or etch plated/brass finishes |
| Lemon juice | 1–2 hours | A natural, pleasant-smelling option | Weaker acid, needs longer |
Whatever you pick, submerge the parts fully in a small bowl or a zip-top bag. A neat trick for a stuck cache aerator you can’t remove: fill a small sandwich bag with vinegar, slip it over the whole spout tip, and secure it with a rubber band so the aerator soaks in place.
How do you actually clean and scrub the aerator once it’s soaked?
After the soak, the goal is to physically remove the loosened gunk from the mesh screen — soaking softens it, but scrubbing gets it out. Take the parts out of the vinegar, then work through each piece.
- Scrub the screen. Use an old toothbrush to brush both sides of the fine mesh. Hold it up to a light — you should see clear light through every hole. Dark spots are still clogged.
- Clear stubborn holes. For individual blocked holes, poke gently with a toothpick, a straightened paperclip, or a sewing needle. Don’t force metal through hard — you can tear the screen.
- Rinse under running water. Flush every part front and back so no vinegar or loosened grit stays behind.
- Inspect the washers. If a rubber washer is cracked, flattened, or brittle, replace it — a fresh set costs a couple of dollars and prevents future leaks around the tip.
- Flush the spout itself. With the aerator off, run the faucet for 15 seconds to blast out any debris sitting inside the spout before you reattach anything.
That last step matters more than people expect. Sediment often builds up inside the spout, and if you don’t flush it, it lands right back on your freshly cleaned screen within days.
How do you reassemble and reinstall the aerator so it doesn’t leak?
Reassemble the parts in the exact reverse order you removed them, then hand-tighten the aerator back onto the spout — snug, but not cranked down with pliers. The rubber washer does the sealing, so over-tightening just risks cracking it or stripping the threads.
If it drips around the tip after you reinstall it, the fix is almost always one of three things: the washer is seated crooked, a part went back in the wrong order, or the washer is worn out. Back it off, check your photo, and try again. For a leak-free seal on threaded metal you can add a wrap of plumber’s (PTFE) tape, but on most aerators the washer alone is enough. Turn the water on and check that the stream is straight, full, and splash-free. If it is, you’re done.
While your hands are already on the faucet, it’s a good moment to knock out any chalky spotting on the spout and handles too — the same vinegar solution works, and our guide on how to clean hard water stains from a faucet walks through doing it without damaging the finish.
How often should you clean a faucet aerator, and can you prevent clogs?
Clean it whenever you notice the flow dropping — but as a schedule, every 3–6 months in hard-water areas and once a year in soft-water homes keeps it from ever getting bad. Prevention comes down to reducing how much mineral and sediment reaches that screen in the first place.
- Consider a water softener if your whole house runs hard — it protects every fixture, not just this one.
- Flush after plumbing work. Any time the water is shut off and turned back on, sediment gets stirred up. Remove aerators and run the lines for a minute afterward.
- Wipe the spout tip weekly with a damp cloth to stop scale from crusting at the opening.
- Replace, don’t fight, a worn aerator. A standard aerator costs $3–$10. If the housing is corroded or the threads are stripped, just swap in a new one — make sure you match the thread type (male vs. female) and size (regular, junior, or Tom Thumb).
Is it ever worth just replacing the aerator instead of cleaning it?
Yes — if the screen is torn, the housing is cracked or corroded, or you’ve cleaned it twice in a year and it keeps clogging fast, replacement is the smarter move. Aerators are consumable parts, not permanent ones. A new one instantly restores flow, lets you choose a spray pattern (aerated stream, spray, or laminar), and can even lower your water use with a 1.0–1.5 GPM model.
When you buy a replacement, matching the thread is everything. Measure the diameter and check whether the threads are on the outside (male, typically 15/16″) or inside (female, typically 55/64″) of the spout. If your faucet is aging overall and you’re weighing a full swap versus a repair, our guide to choosing the right bathroom faucet can help you decide whether a new fixture is the better value.
FAQ
Can I clean a faucet aerator without removing it?
Yes, in a pinch. Fill a small plastic bag with white vinegar, slip it over the spout so the aerator is fully submerged, and secure it with a rubber band for 30–60 minutes. It won’t clean as thoroughly as removing and scrubbing the screen, but it’s a solid option for recessed cache aerators or when you can’t unscrew a stuck one.
Why is my faucet still weak after I cleaned the aerator?
If flow is still poor with a clean aerator — or still poor with the aerator removed entirely — the clog is deeper in the faucet. Common culprits are a mineral-blocked cartridge, a partially closed shutoff valve under the sink, or a kinked supply line. Check the shutoff valves first (make sure they’re fully open), then look at the cartridge.
Will vinegar damage my faucet’s finish?
Plain white vinegar is safe for short contact on chrome, stainless, and brushed nickel. Where you need to be careful is with unlacquered brass, oil-rubbed bronze, and some coated or matte finishes — don’t let acid sit on those for long, and rinse thoroughly. For delicate finishes, dilute the vinegar 1:1 with water and limit the soak.
What household tools do I need to clean a faucet aerator?
Usually none beyond your hands. For a stuck aerator you’ll want pliers or a wrench with the jaws padded by cloth or tape. For cleaning you need white vinegar, a small bowl, an old toothbrush, and a toothpick or paperclip for stubborn holes. Recessed cache aerators need the little key tool that came with the faucet.
How do I get a stuck aerator off without breaking it?
First, soak it in place with a vinegar bag for an hour to dissolve the scale locking the threads. Then grip it with padded pliers and turn slowly and steadily rather than jerking. If it still won’t budge, a few taps around the housing to crack the mineral bond, plus a second soak, usually frees it. As a last resort, a corroded aerator can be cut off and replaced cheaply.
Does a clean aerator really save water?
Yes. A working aerator mixes air into the stream so the faucet feels strong at a lower flow rate — often cutting a 2.2 GPM faucet to 1.5 GPM or less. A clogged one doesn’t just weaken your flow; it can also make you run the tap longer to rinse things, wasting water. Keeping it clean, or upgrading to a low-flow model, protects both pressure and your water bill.
About the author: This guide was written by the Cobbe fixtures team, drawing on hands-on bench testing of kitchen and bathroom faucets and years of fielding real customer repair questions. We install, disassemble, and stress-test the aerators and cartridges we sell.
Why trust Cobbe: Cobbe designs and sells kitchen and bathroom faucets, shower systems, and fixtures built to U.S. plumbing standards. Our faucets meet cUPC and NSF/ANSI low-lead requirements, ship with replaceable aerators and washers, and are backed by a manufacturer’s limited warranty — so a simple part like an aerator is something you can service or replace for years, not a reason to scrap the whole faucet.
Pingback: Kitchen Taps in Zimbabwe: What Should You Actually Buy for Hard Water and Low Pressure? - Cobbe
Pingback: How Do You Do a Kitchen Faucet Sprayer Head Replacement Without Replacing the Whole Faucet? - Cobbe